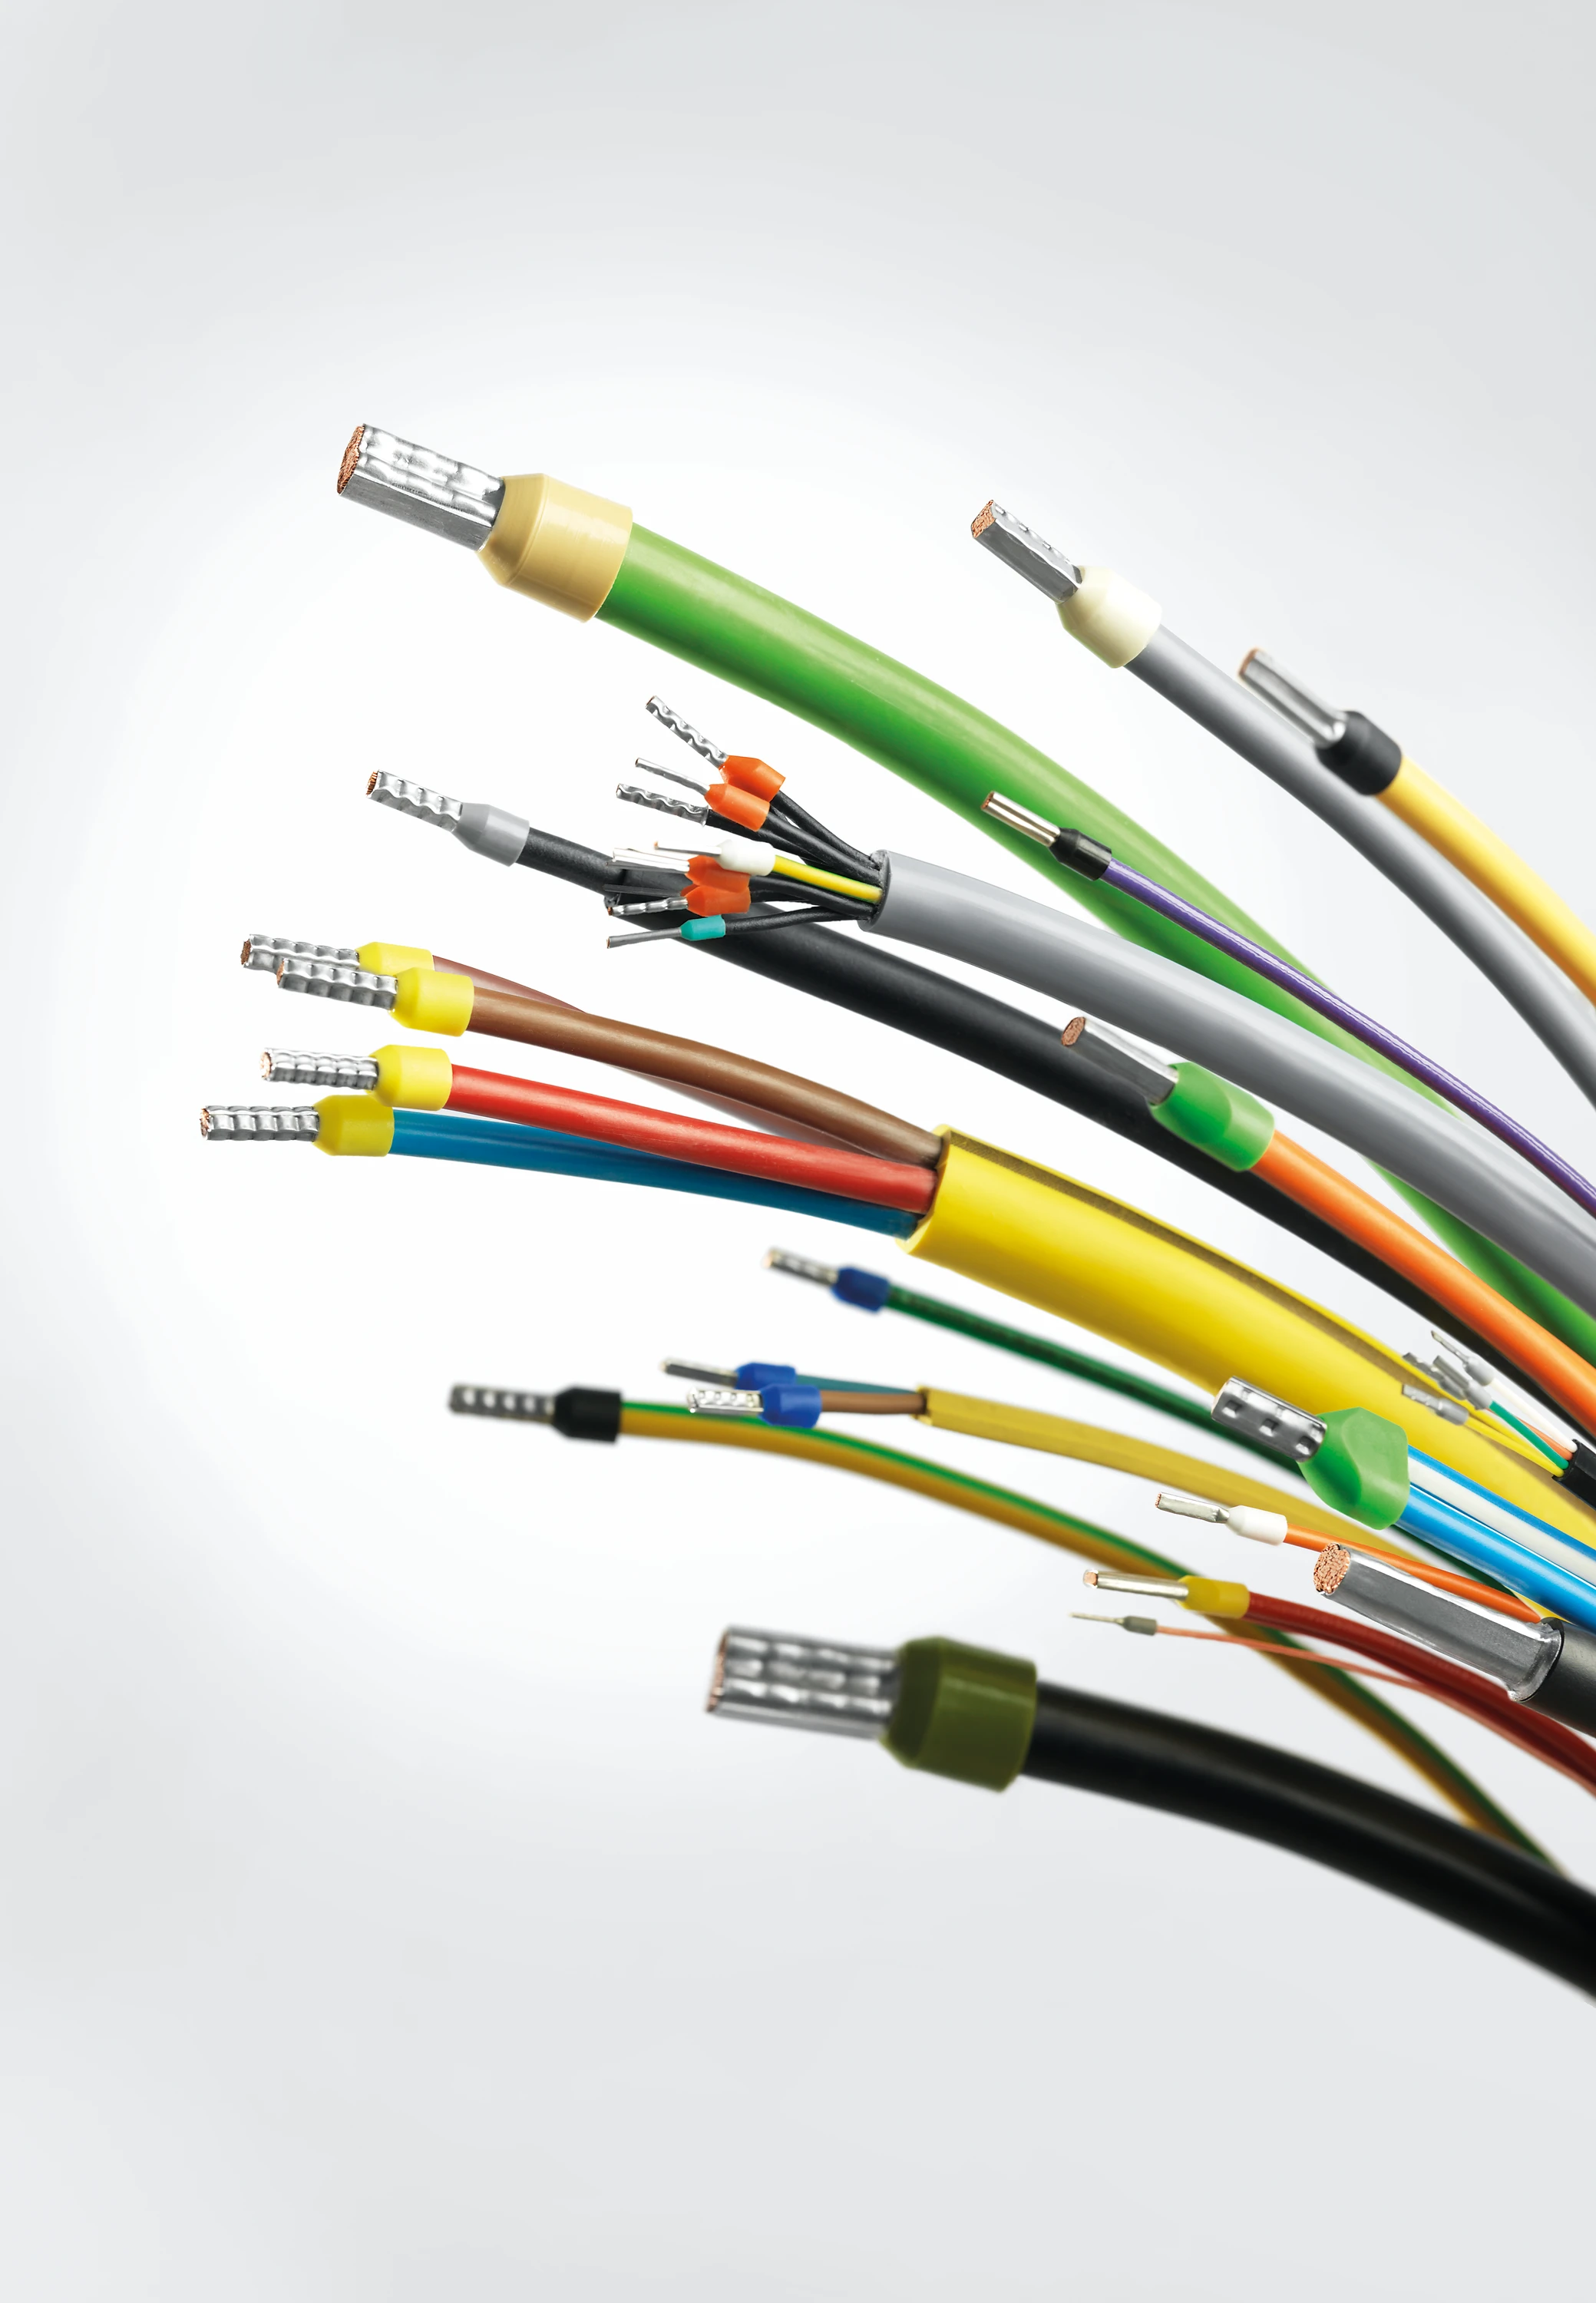
Tips for optimal preparation and execution of crimping with wire-end ferrules
Often, being able to produce large numbers of reliable connections quickly is important in industry and in trade. The crimping process is well-suited to these kinds of tasks. If a crimp is executed correctly, it is preferable to a soldered connection and can withstand even high mechanical loads. However, crimping correctly is more complicated than you might initially think. Correct crimps fulfil standard DIN EN60352-2. This standard defines basic requirements and contains important recommendations, on which the following practical tips are based.
During crimping, a conductor and connecting element are connected via a pressing process. If the crimp is executed correctly, it creates a homogeneous, non-detachable connection. Essential requirements for crimp connections are defined in DIN EN 60352-2. It also describes testing methods and provides important application information. To produce a long-term, reliable crimp connection that conforms to the standard, the conductor, contact and tool must be optimally tailored to work together. In addition, good preparation is essential for every crimp. Each crimp must be completed using the right tool. We address the individual steps briefly in the following section.
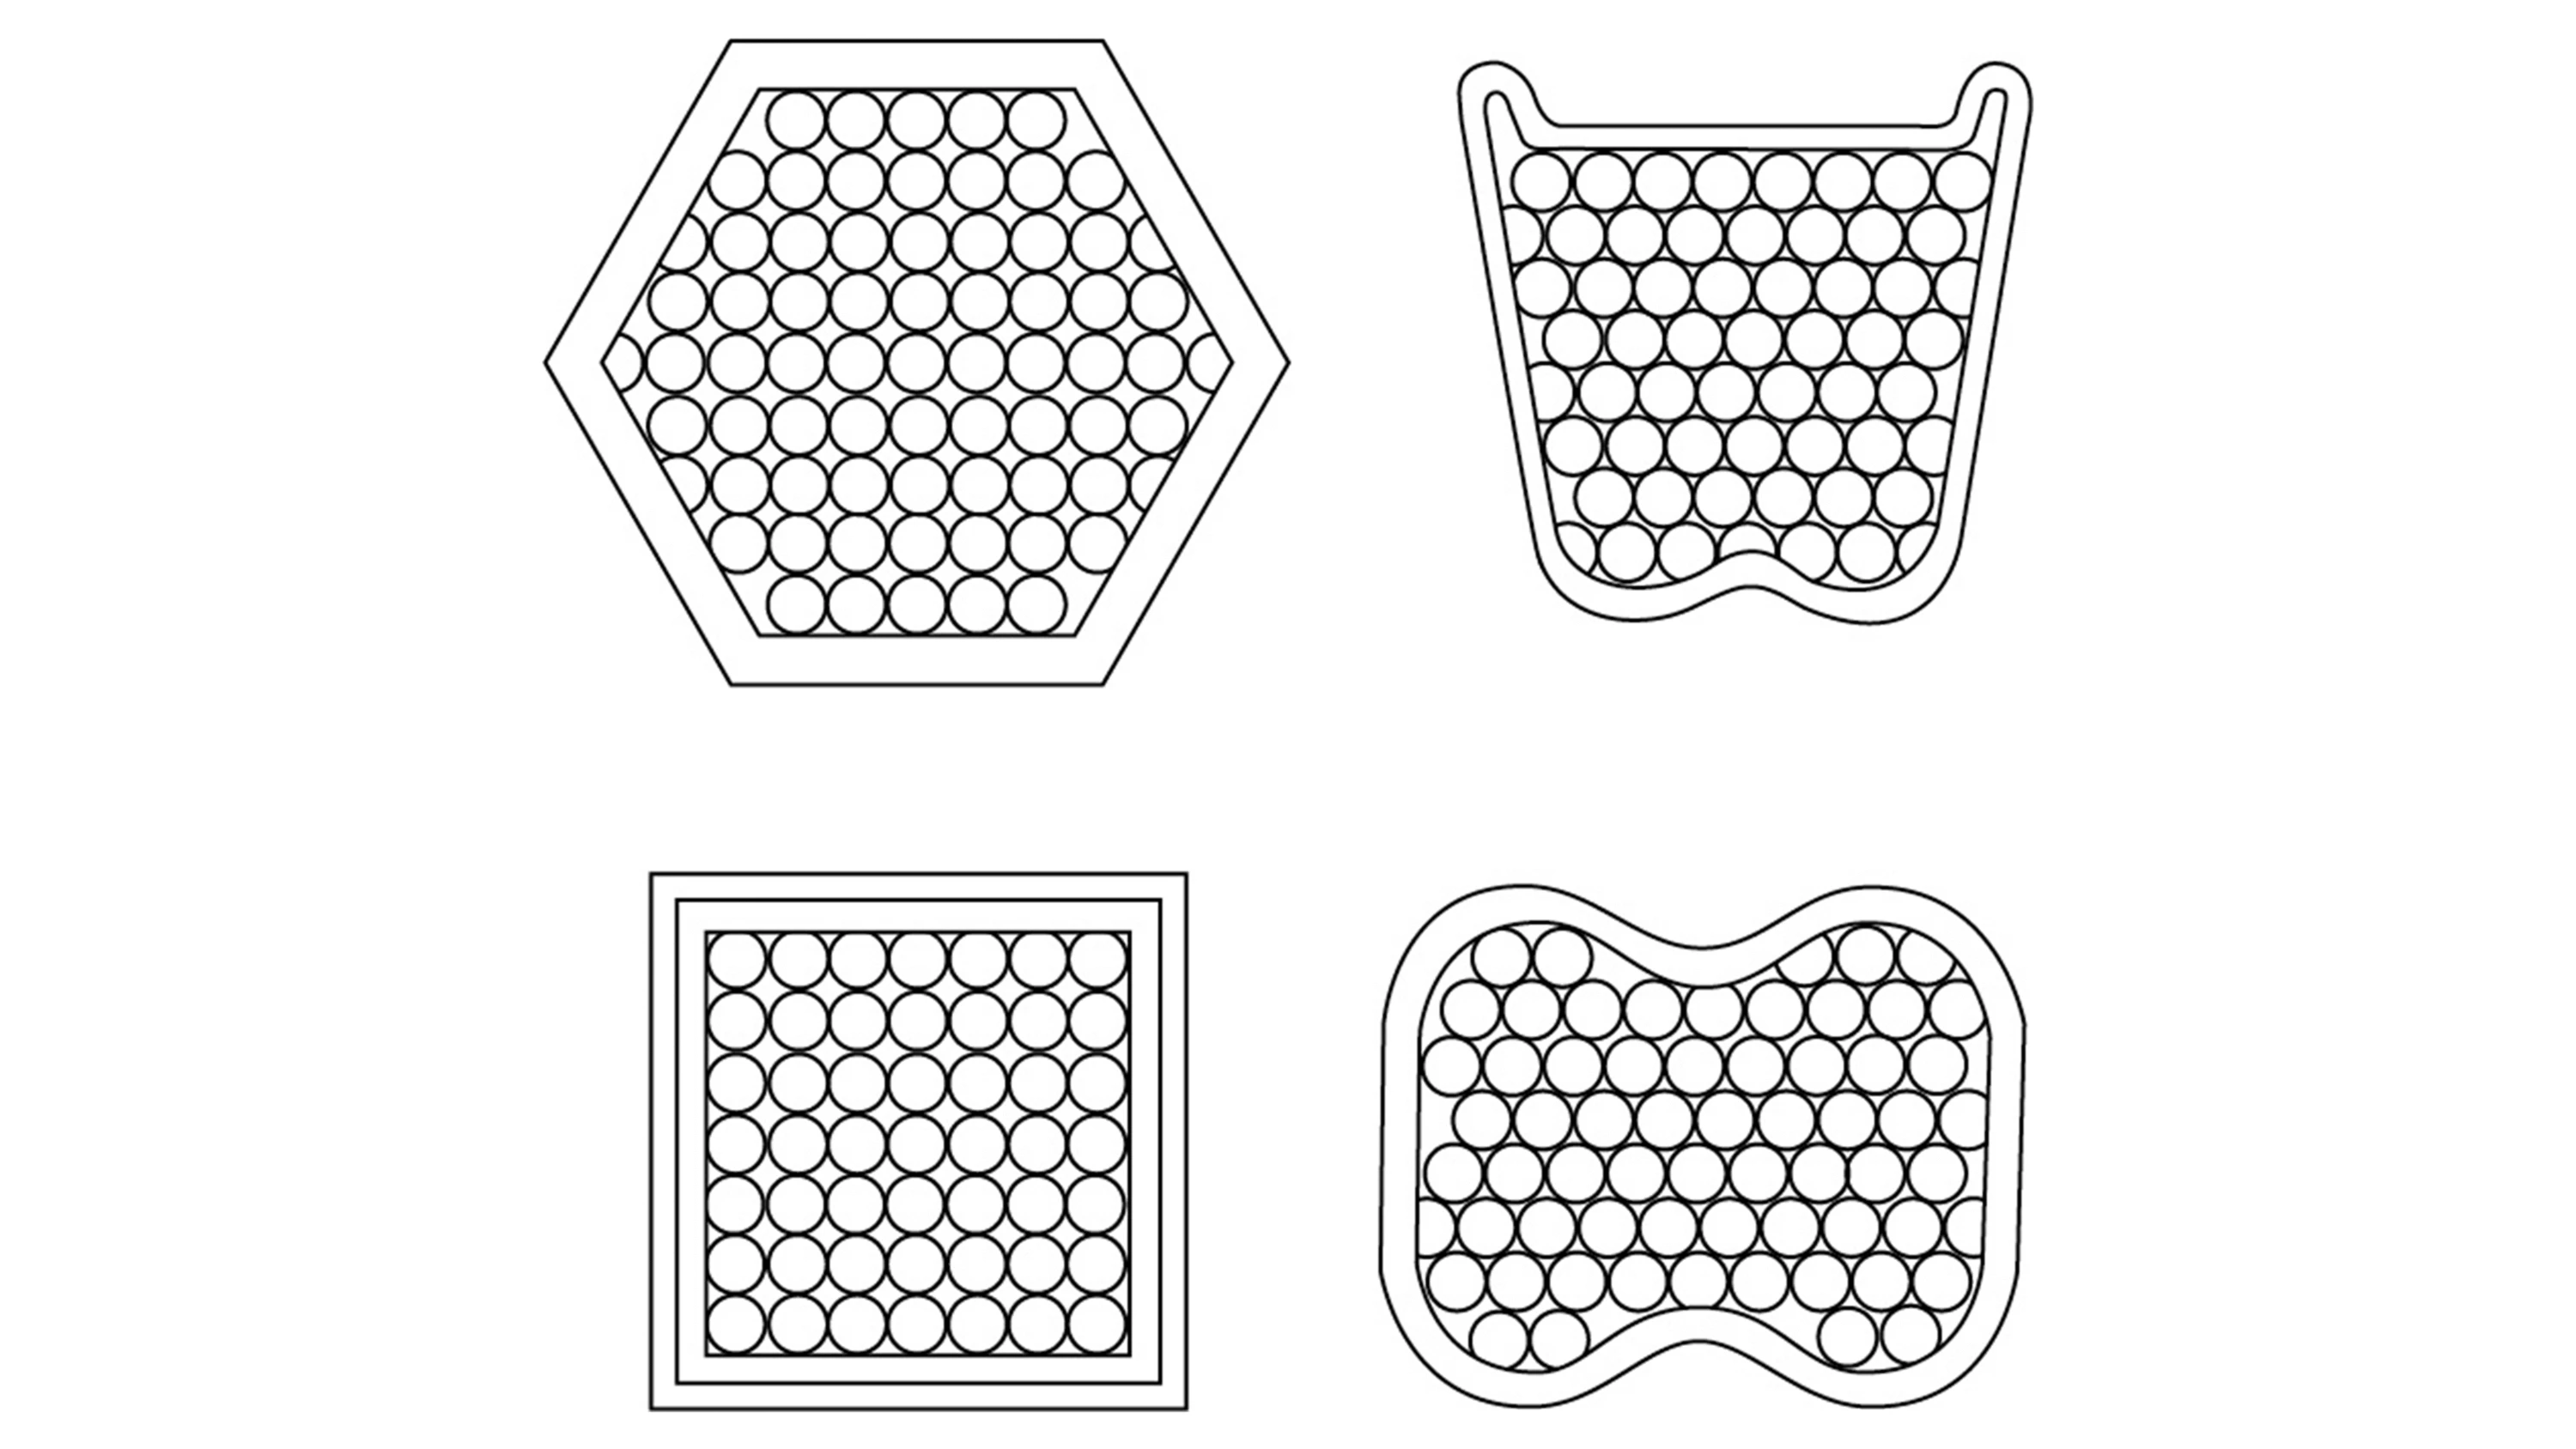
Selecting the pressing shapes
Different pressing shapes are available to crimp wire-end ferrules. We differentiate between trapezoidal, square, hexagonal, and Weidmüller crimping dies. All of these have specific advantages and disadvantages. Therefore, you should always select a pressing shape in consideration of the later application.
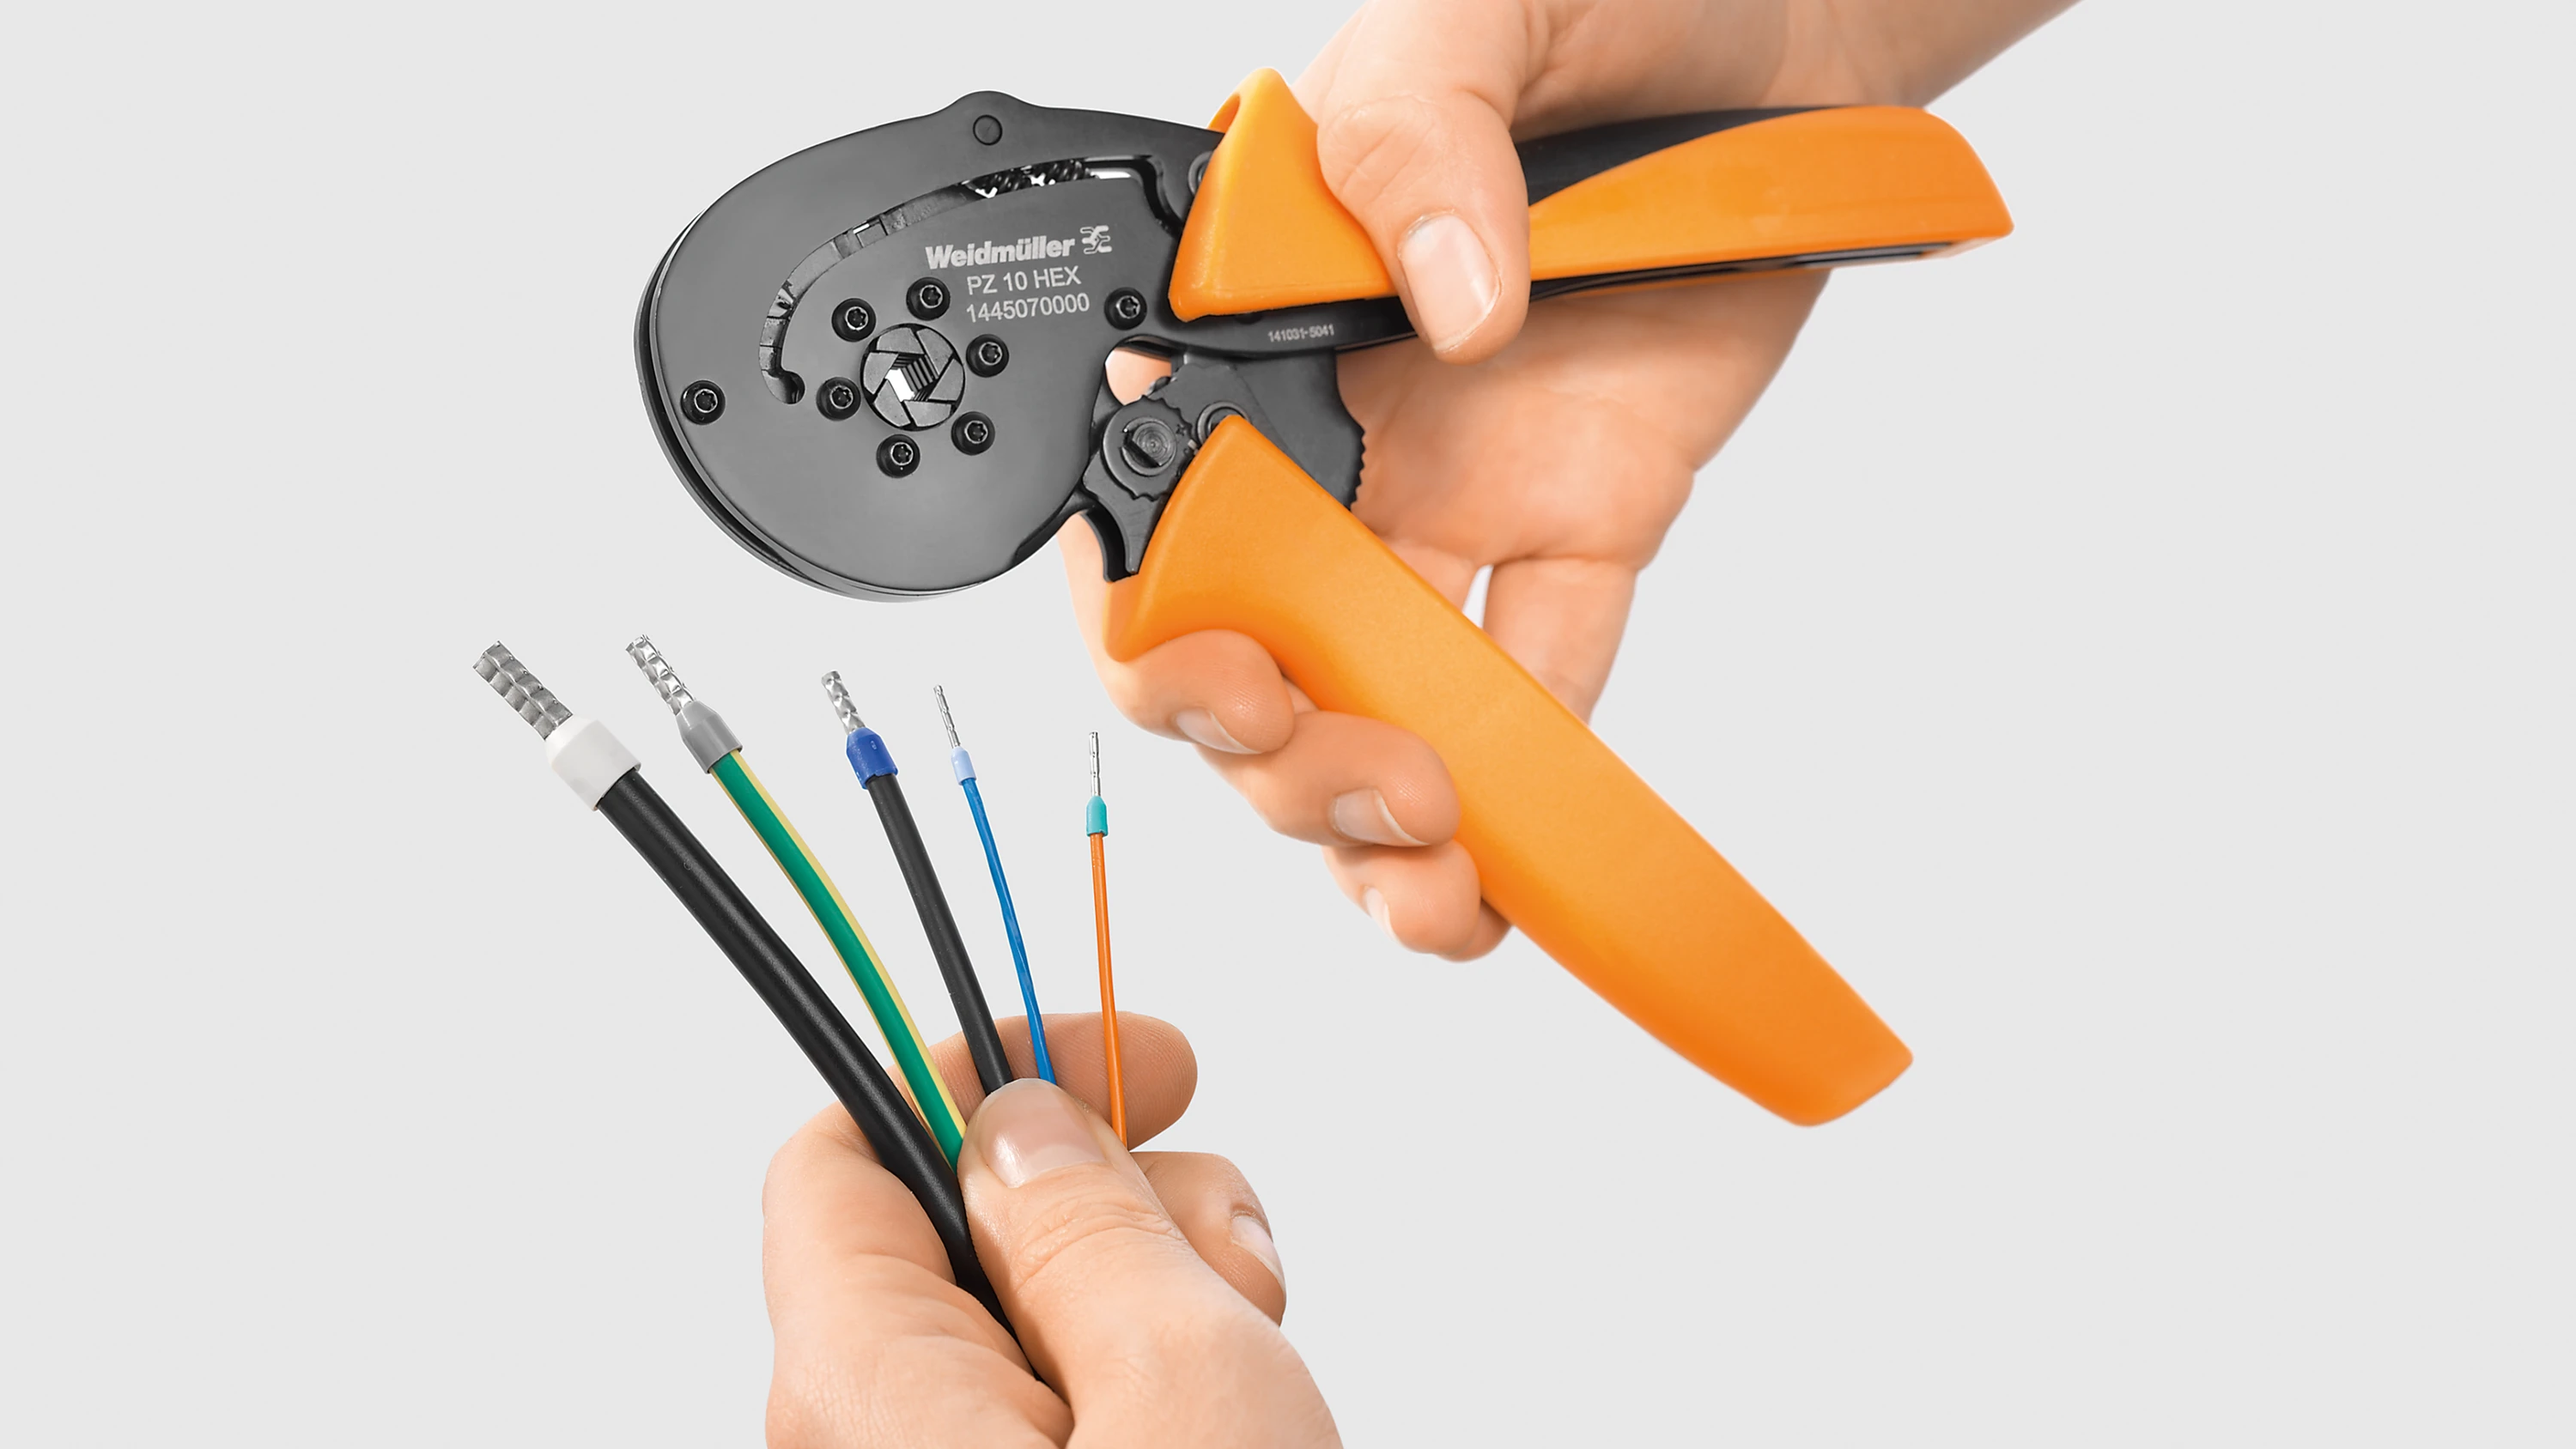
Selecting a tool
Most crimp connections are executed manually using classic crimping tools. We differentiate between crimping tools with fixed or exchangeable dies. There are also single- and multi-station tools. You can use single-station tools to process all diameters approved for the tool without additional settings. Multi-station tools include multiple crimping stations for different diameters. With both types, it is important to make sure that the wire-end ferrules are crimped in the appropriate station. For perfect results, it is best to use crimping tools according to DIN 41641-1 from the Weidmüller portfolio. With standardised tools, you can complete at least 50,000 crimping cycles without any reduction in quality. However, regular maintenance and testing is urgently recommended.
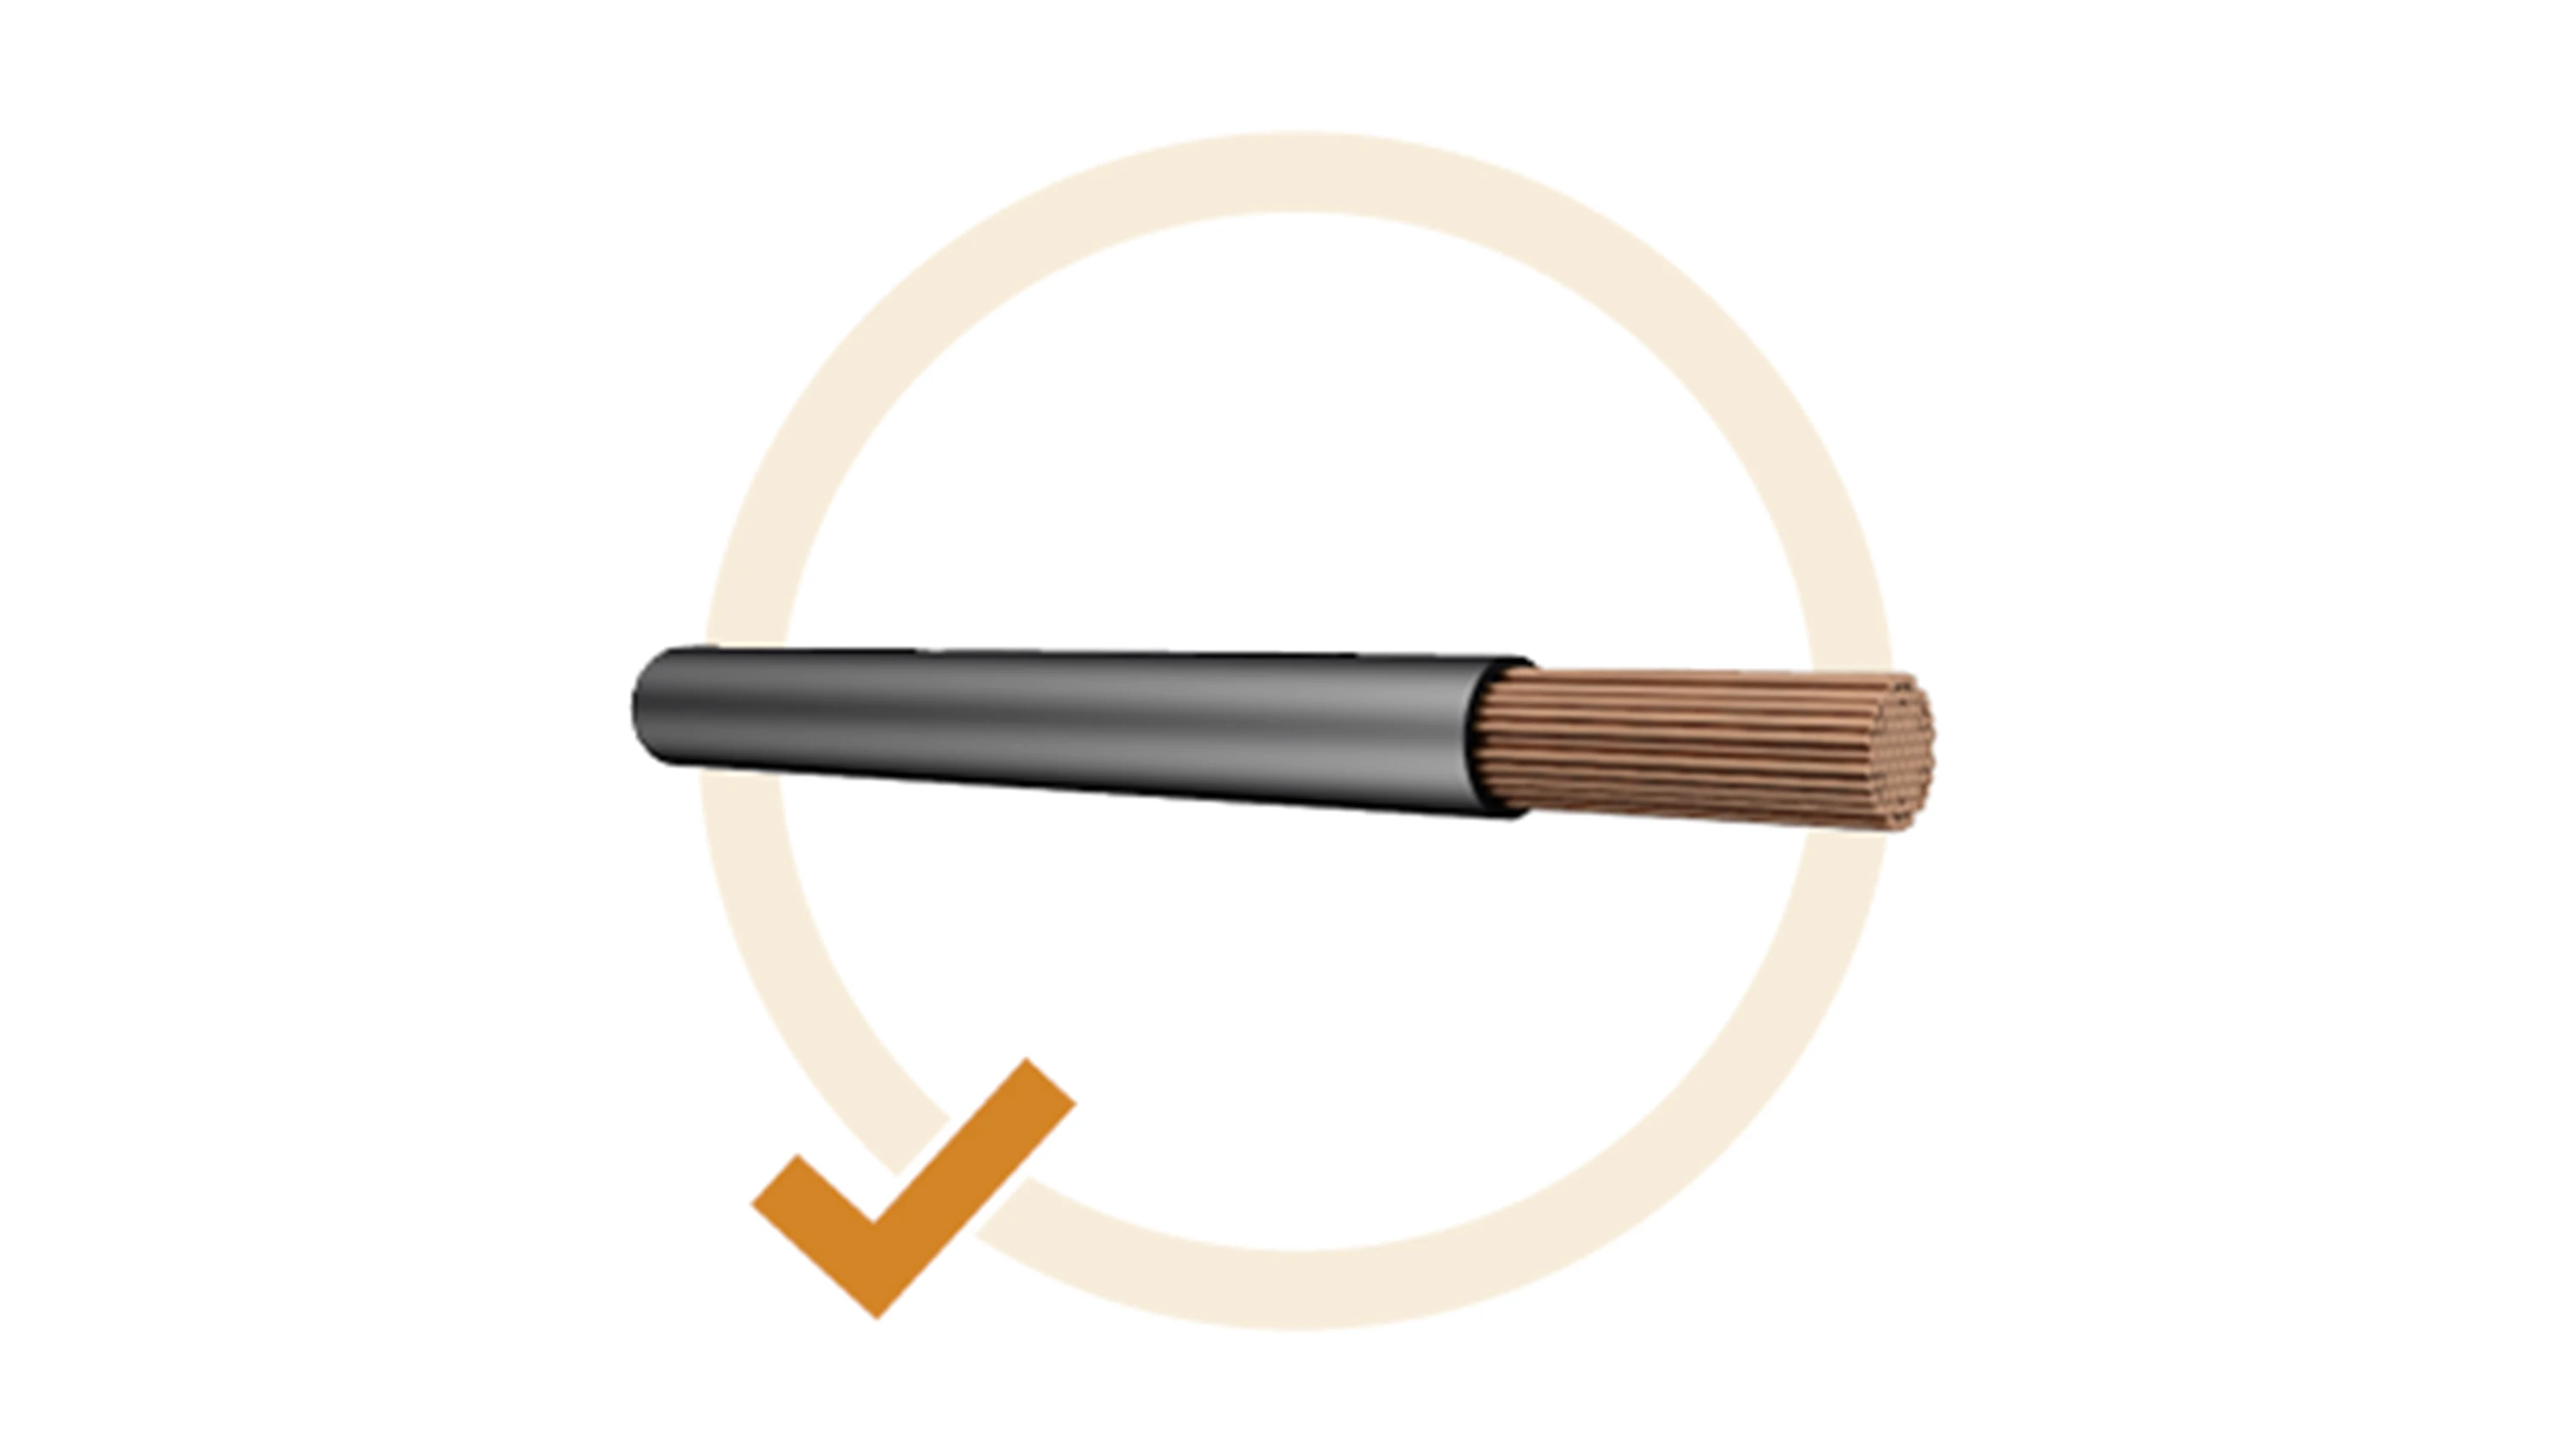
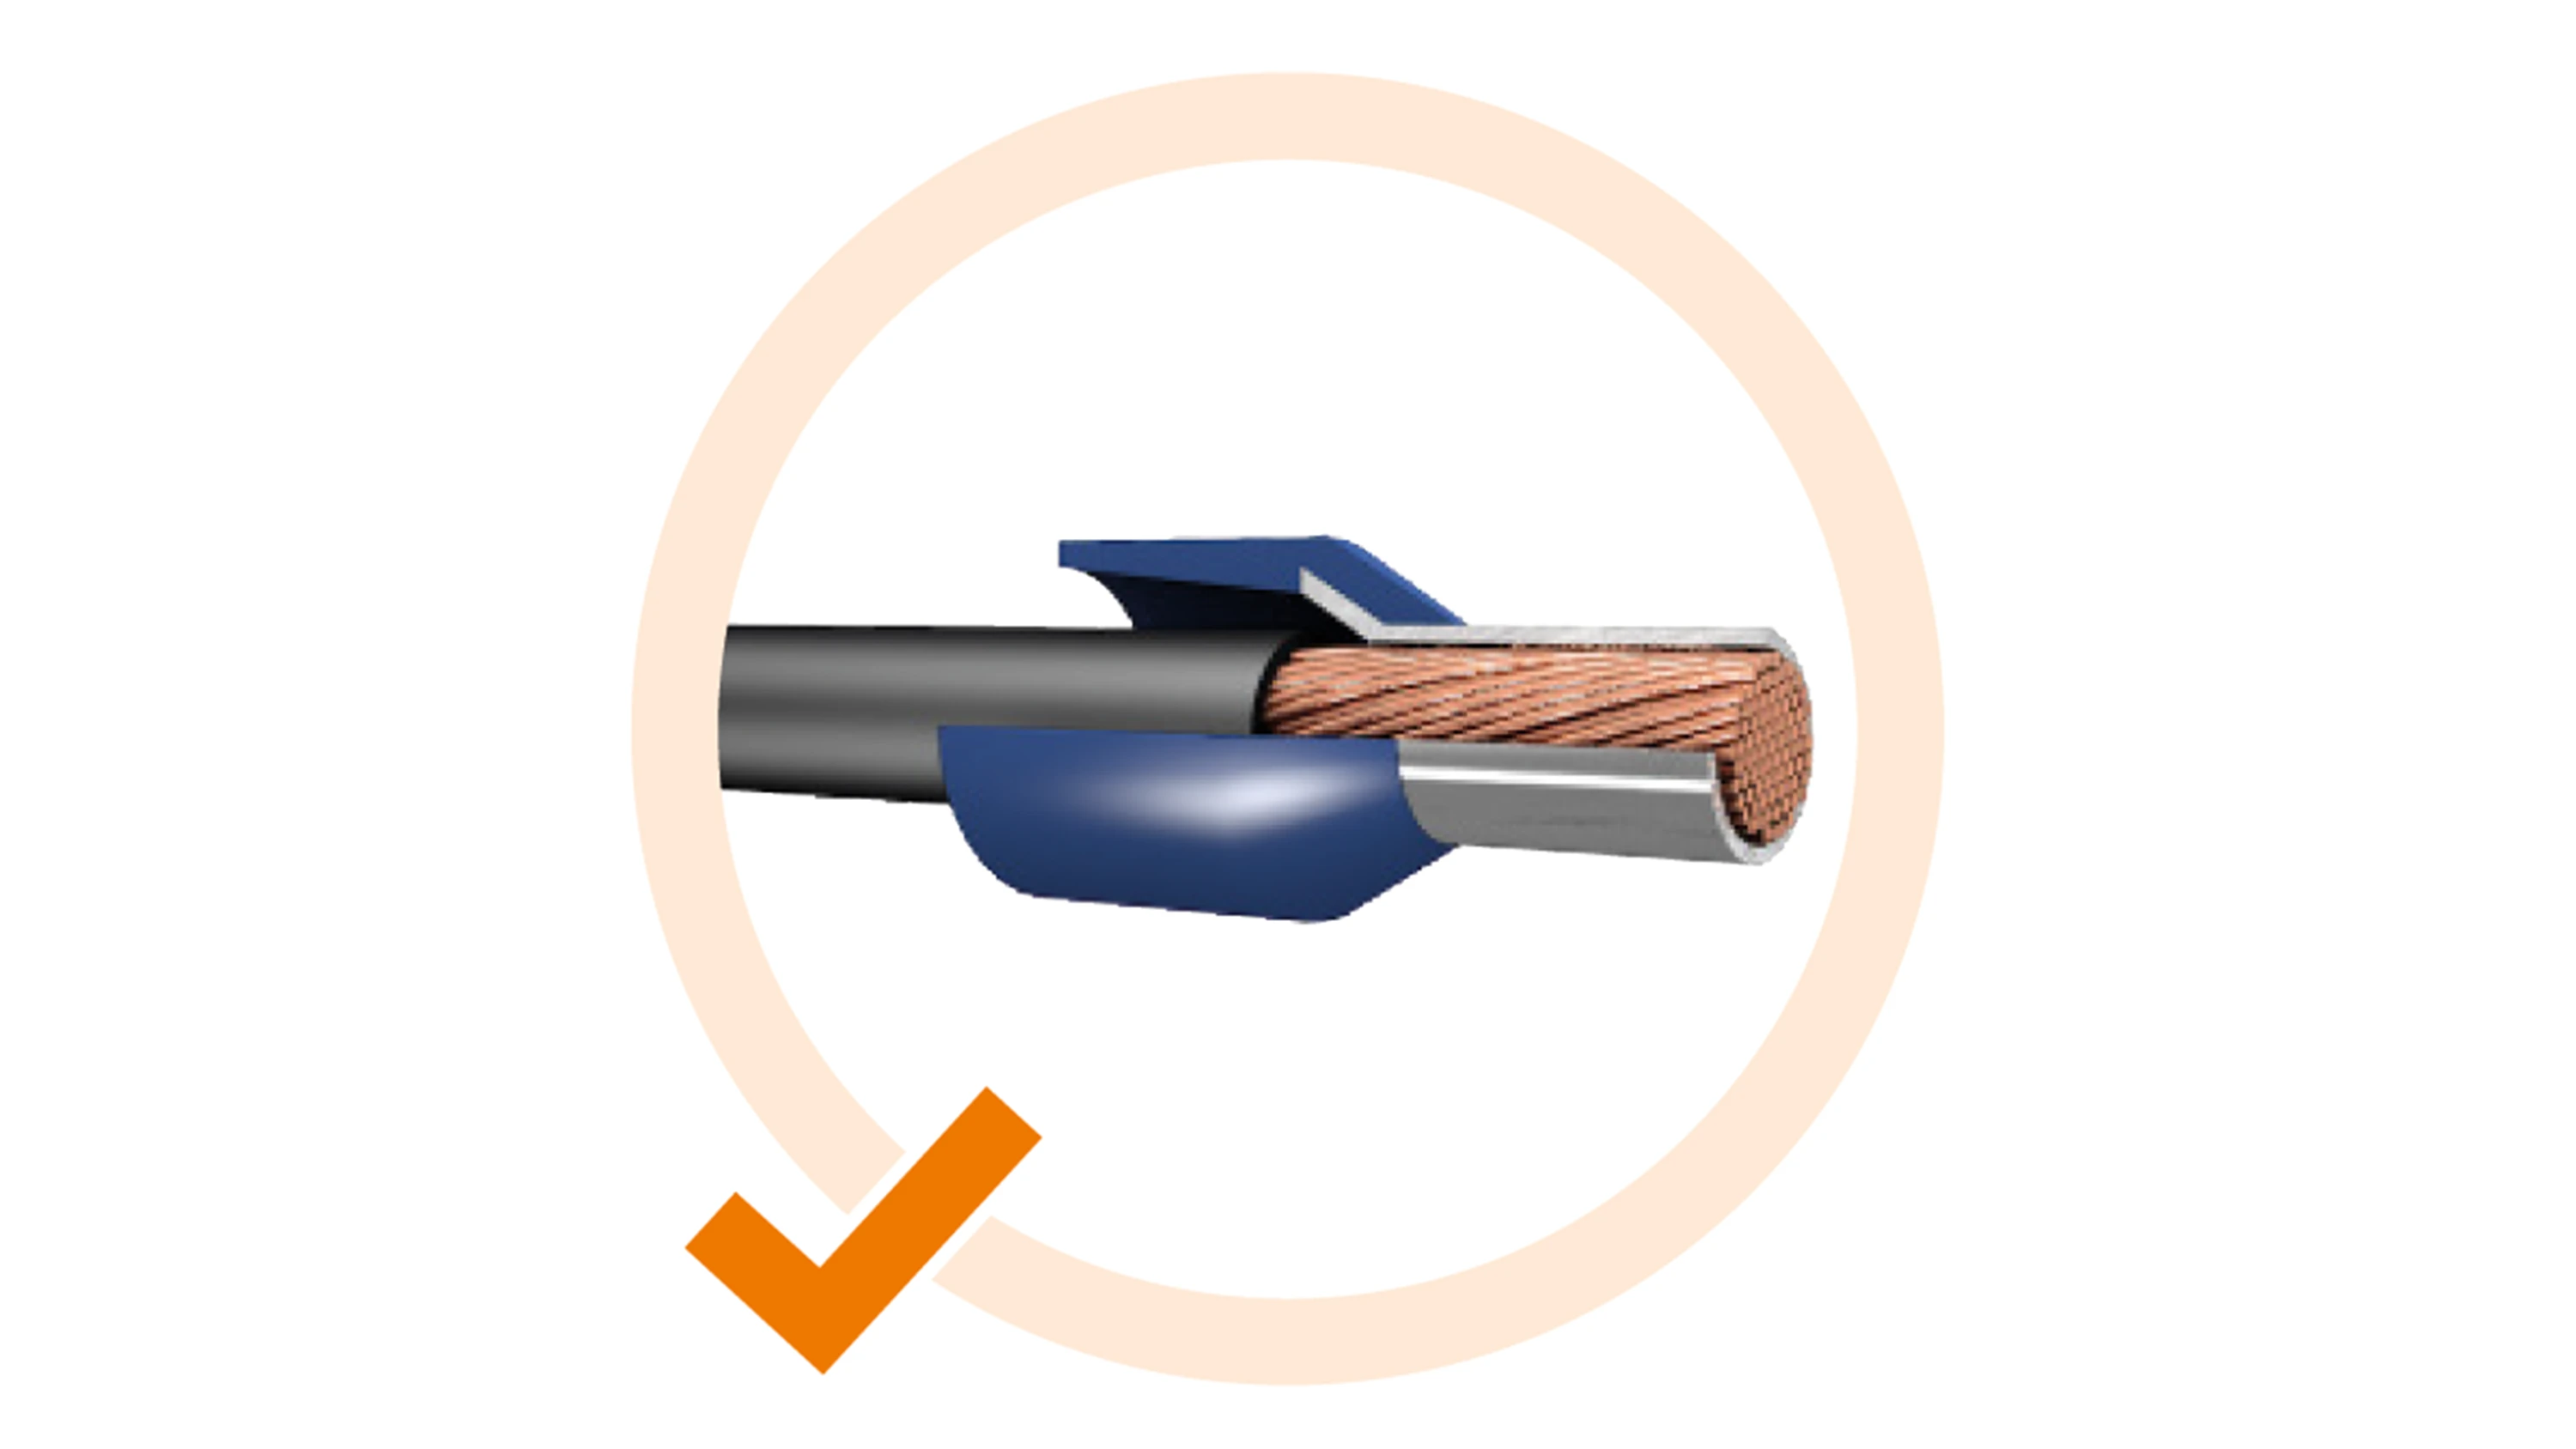
Cutting Preparation for a crimping process begins with cutting the conductor correctly. It is important to execute a smooth and straight cut, without deforming the conductor. Shearing, crushing, or pulling out the conductor must always be avoided. You can achieve top-class results with professional cutting tools from Weidmüller.
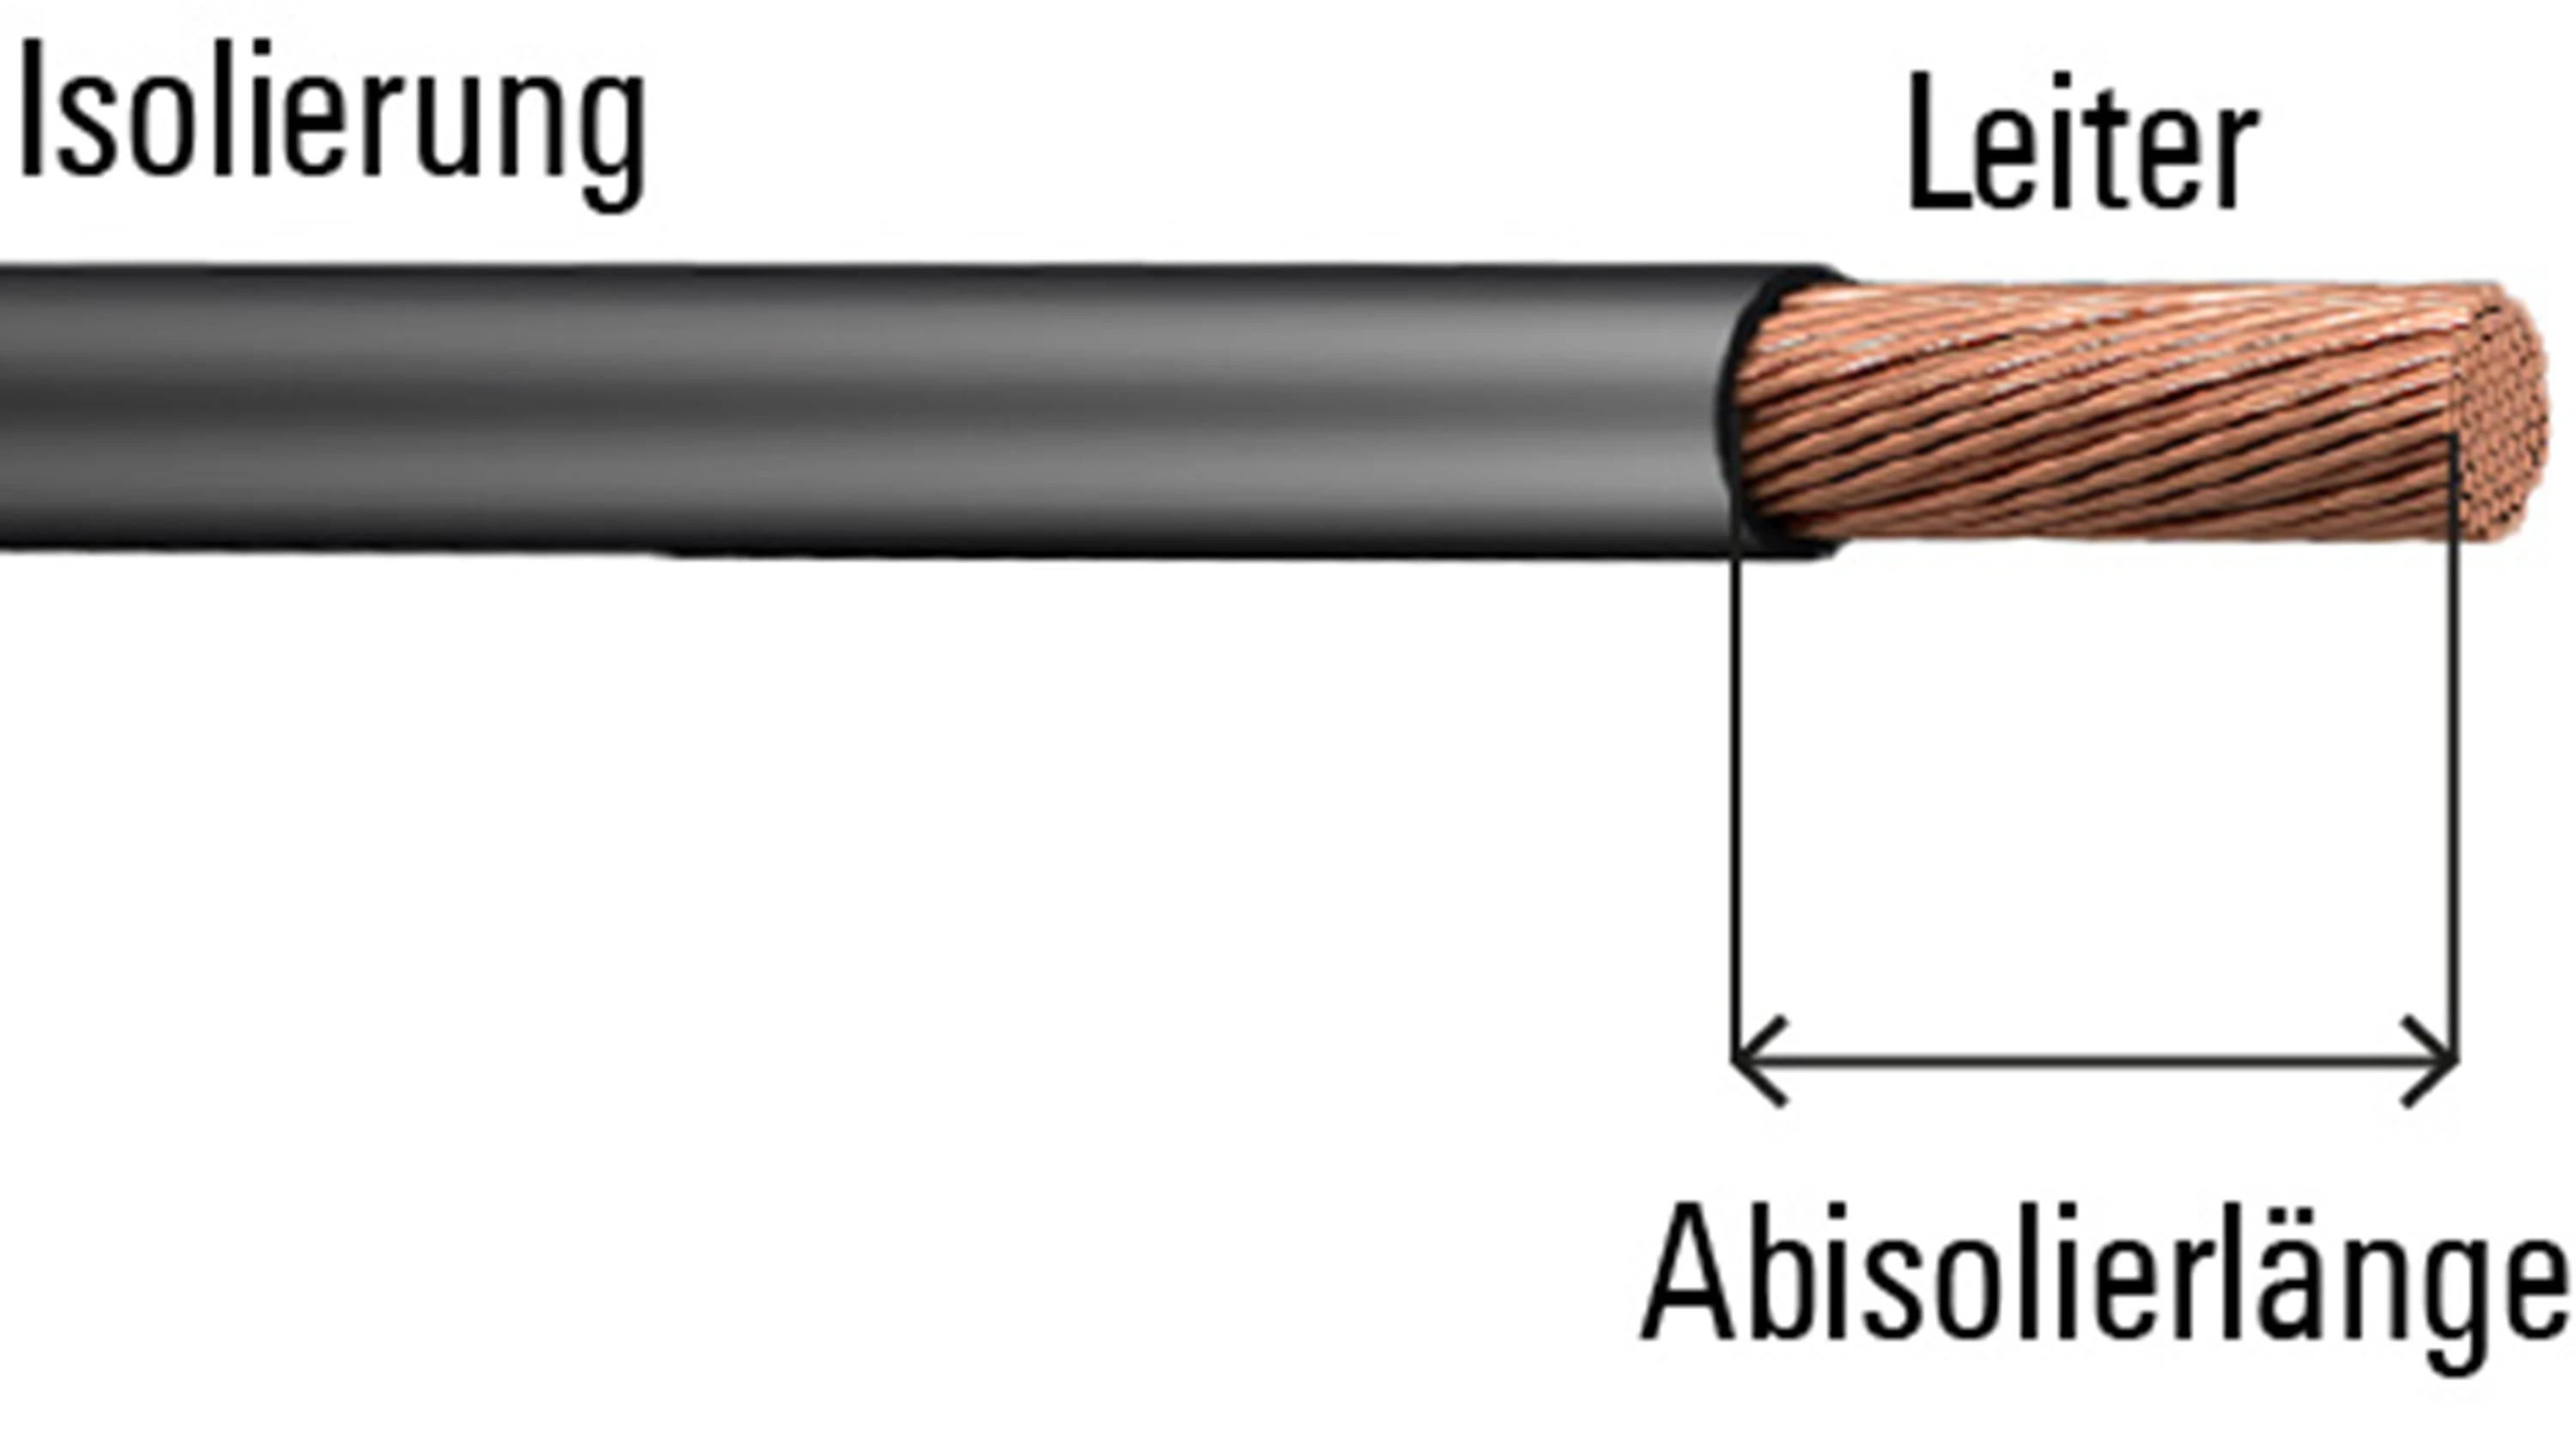
Stripping
After cutting, the conductor insulation must still be removed completely at a defined length without damaging the conductor. Here as well, it is important to work cleanly. With professional Weidmüller stripping tools, you can achieve consistently good results in accordance with DIN specifications. They are optimally tailored for the insulation and wire cross-section and ensure error-free processing.
Crimping
Once the conductor is placed optimally in the wire-end ferrule, you can start the crimping process. The crimping tool must be set so that the crimp is made slightly in front of the plastic collar. Now you can activate the tool. Once the ratchet of the tool opens automatically, the crimping process is complete. With long sleeves, you should complete crimping in multiple work steps – always from the start to the insertion funnel. Then you should check the quality of the crimped connections for every project.
Quality assurance DIN EN 60352-2 recommends using tools and crimp contacts from the same manufacturer. This is the best way to guarantee a consistently high quality of workmanship. Tools and contacts are perfectly coordinated to work together, and available in a wide selection. In addition, crimping tools are developed so that many typical crimping errors are avoided from the outset. They can even compensate for slight fluctuations in the conductor configuration. If you are using exotic conductors, however, you should test the crimp quality very carefully at the start of a project. As your reliable partner, Weidmüller offers suitable certification services for this purpose.